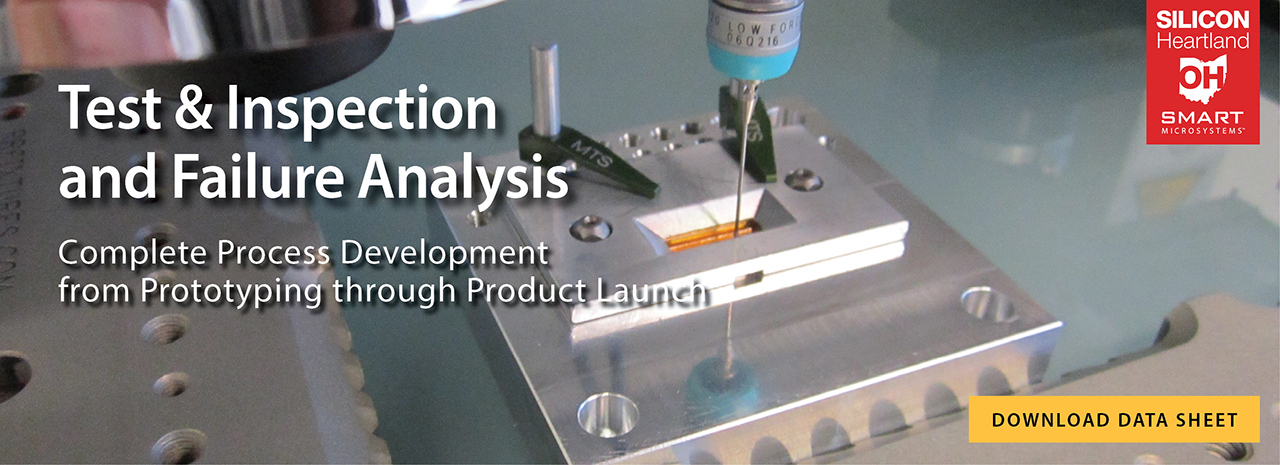
Test and inspection capabilities at SMART Microsystems play an important role in the development of processes and testing of microsystem package assemblies for our customers. By using Environmental Life Testing and Test and Inspection in conjunction with a Test Early-Test Often approach in the product development cycle, weaknesses in the design are found early, before too much value is added to the part. For additional information you can call or send us an email to discuss your test and inspection needs.


PRECISION PRESSURE SENSOR TESTING APPLICATION BRIEF  /  DOWNLOAD
In the ever expanding pressure sensor market, MEMS-based sensors are driving the market to higher levels of precision and accuracy with faster response times at lower cost. Medical applications for both diagnostics and treatment benefit from these technical advances. When measuring pressure of fluids in the body (eg., blood) with minimally invasive techniques, precision and accuracy at relatively low pressures (<3 psi) are critical.  


PRESSURE CONTROLLER SPECIFICATIONS
•    Fully integrated multi-range pressure test and calibration system
•    12 range system for maximum performance and coverage
•    Pressure ranges to 2,500 psi (170 bar)
•    Internal vacuum pump for absolute mode and negative gauge mode operation
•    Control stability:
    •   0.0015 psi from 0.15 psia to 14.3 psia
    •   0.0001 psi from 0 psig to 10 psig
    •   0.0015 psi from 10 psig to 150 psig
    •   0.25 psi from 150 psig to 2,500 psig    
•    Automatic range switching
•    High speed pressure control provides increased throughput
•    Datalogging and automated calibration sequences

INTERFEROMETRY SPECIFICATIONS
•    Characterizes and quantifies topographical features
    •   Surface Roughness
    •   Step Height
    •   Critical Dimensions
•    Non-Destructive Tests
•    Profile heights ranging from < 1 nm up to 20000 µm
•    Vertical Scan Range 150 µm
•    Max Scan Area 20 µm
•    Maximum Sample Size 89 x 203 x 203 mm
•    RMS Repeatability < 0.01 nm (0.0004 µin) RMSσ
•    Step Height Accuracy ≤ 0.75% Repeatability ≤0.1% @ 1σ
•    5x Objective, 20x Objective, 10x Glass Compensated Objective

BOND TESTING SPECIFICATIONS
•    Perform destructive and non-destructive force testing to bonds
•    Export data and reports into Word, Excel, and .csv
•    Customizable data tables and graphs
•    Fitted with top down camera for inspection pictures after bond test is performed
•    Currently available test cartridges:
    •   T1KG – Tweezer and stud pull up to 1 kilogram
    •   S250G – Shear up to 250 grams
    •   S50KG - Shear up to 50 kilograms
    •   P100G – Hook pull up to 100 grams
    •   PP50KG – Push/Pull up to 50 kilograms
•    Accuracy +/-0.1% of the full scale for the selected range
•    Step Height Accuracy ≤ 0.75% Repeatability ≤0.1% @ 1σ


PRECISION MEASUREMENT SPECIFICATIONS
•    Programmable high-speed three axis non-contact and contact coordinate measuring machine
•    A2LA calibrated and certified
•    250 x 200 x 200 mm measuring envelope
•    Non-Contact vision measurement capable
    •   1x and 5x lenses
    •   Vision Measurement Accuracy
        •   XY-axis: (2.0 + 3L / 1000) µm
        •   Z-axis: (3.0 + 5L / 1000) µm
•    Contact touch probe measurement capable
    •   Renishaw standard force and low force modules
    •   Touch Measurement Accuracy
        •   XYZ-axis: (2.4 + 3L / 1000) µm

ACOUSTIC MICROSCOPY SPECIFICATIONS
•    Available transducers: 15Mhz, 30MHz, 50MHz, 75MHz, 100MHz, 230MHz
•    Imaging techniques available: Surface, Interface, Bulk, Loss of back echo, tray scanning, Q-BAM, Thru-scan, STAR Mode, and virtual rescanning
•    12” x 12” scan area
•    Up to 16K x 16K (268 Megapixels) Very High-Res (VHR™) Enhanced Scanning and Data Acquisition Format with Zoom Enlargement (4K x 4K standard)
•    Acoustic Impedance Polarity Detector simultaneously displays both phase (i.e., polarity) and amplitude information
    
SCANNING ELECTRON MICROSCOPY (SEM)
SPECIFICATIONS

•    Resolution: 4nm @ 1kV, 1.5nm @ 15kV
•    Imaging field: 3.5mm
•    Sample size: 50mm diameter max
•    Electron gun: cold-cathode field emission
•    Robinson Backscattered Electron (BSE) detector
•    X-ray EDS    

3D X-RAY SPECIFICATIONS
•    µCT technique to create 2D X-ray slices in any plane of a printed circuit board assembly without the need to cut the board
•    160 kV Tube with up to 10 W Tube Power
•    Nordson DAGE 2 Mpixel @ 25fps XiDAT3 Digital Image Intensifier with Real Time Image Enhancements
•    Geometric Magnification 2,000x, System 12,000x and Total 60,000x with Digital Zoom
•    Maximum Board Size: 29” x 22.8” (736 x 580 mm)
•    70° Oblique Views without Loss of Magnification